Bear Mountain Builds
Expanding Miter Saw Table
Couldn't load pickup availability
Product Description
Enhance your shop with an expanding miter saw table. Folded down it takes up 28”x 24” but can expand out to 89” long. This build is perfect for those looking to save space in a smaller shop or garage. While originally designed for a DeWalt DWS713 miter saw the plans also Include an automatic calculator that custom-fits the entire build to your specific miter saw, overall height, and board dimensions — just plug in your numbers and the plans adjust to fit.
How It Adjusts:
- Enter your miter saw's dimensions and the table reconfigures around it — no more building for a saw that isn't yours
- Set your own overall height so the table lines up with your bench or fits your shop
- Input your board dimensions whether you're using 2x4s, metric lumber, or milled boards
Plans Include:
- Digital PDF Download - 18 pages that include everything you'll need to build this expanding miter saw table
- Automatic calculator to custom-fit the build to your specific miter saw, overall height, and board dimensions
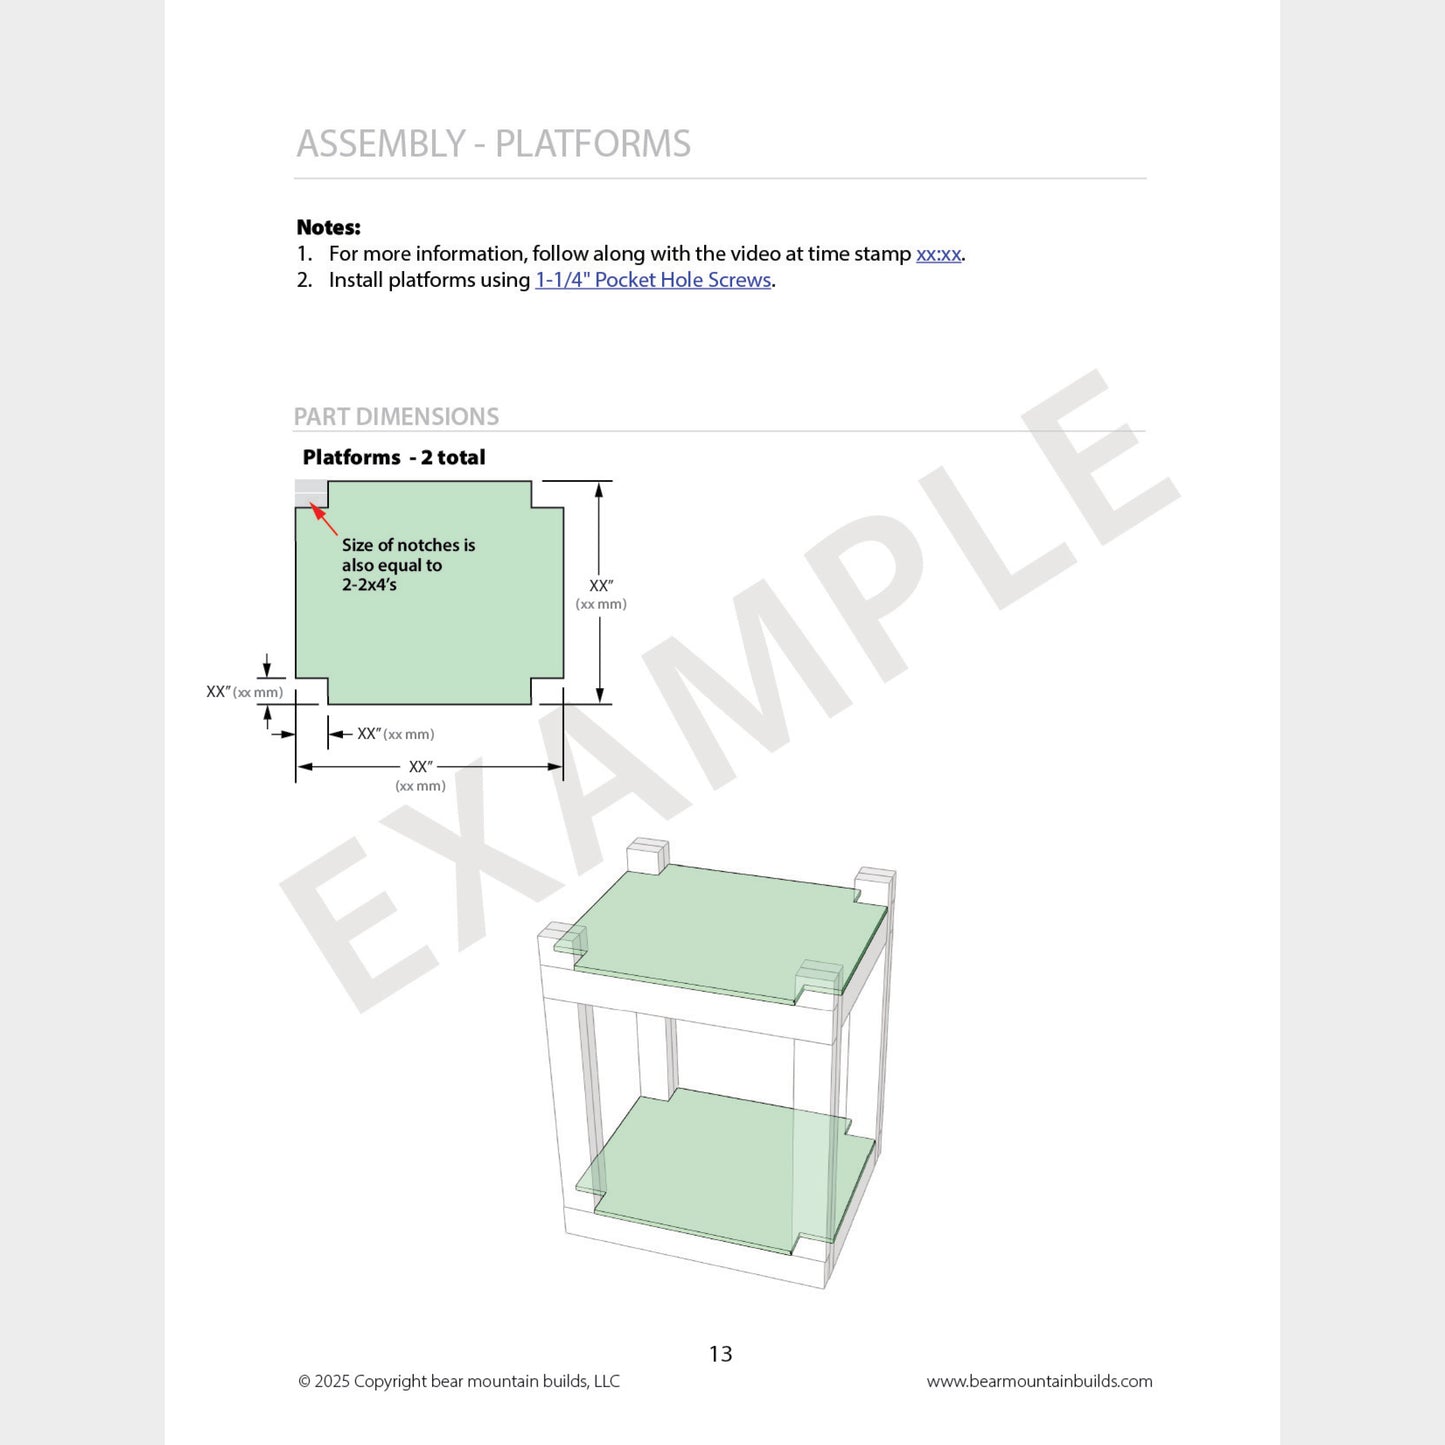
- Color coded 3D images and cut plans so you know exactly where every piece goes
- Full material list with links to all hardware so you don't have to go searching
- All dimensions in inch and millimeter units
3D Model Available
- Make modifications to the design easily
- Get the 3D model in the following file formats: Autodesk Fusion (.f3d), Sketchup (.skp), and Autodesk Inventor (.ipt/.iam)
- Bundle and save by getting the models and plans at the same time!
See the full step by step build video HERE

Viewer Builds
Great detailed plan. Especially like the cut plan to minimize waste. Will definitely look into other plans!
Plans were great. Easy to follow. The biggest issue I had was my inexperience. But it works so I am calling it a success.
+ Thorough plans, cut lists etc pretty well presented. It seems like a well engineered design.
+ The videos are long, but concise and tightly edited, without much irrelevant commentary or jibber-jabber.
+ Several good tips in the videos, although I didn't really see the need for some of the extra tools etc. just for this project.
- I would have preferred the finished dimensions were already
of a standard size, not the "tall guy" size, to avoid having to recalculate and cross out many of the given dimensions and pencil in reduced by 3".
It's a little confusing and means double checking to make sure all the dimensions are right before cutting.
Suggest you give the dimensions as a "standard" size, and builders can add 3" if they want a taller finished height.
+/- Personal preference, instead of the extra work of cutting and gluing two sheets of 1/2" to form a 1" thick "wing",
I just used a single thickness of 3/4" plywood and skipped the T-slot. I don't have a router. I will just clamp a stop to the wing if needed.
Some of the features are more "nice to have" or for more elegant design, not strictly required for an occasional woodworker.
- The need to buy specialized tools like a pocket hole jig, special pocket hole screws, etc. added a lot to the cost of the project.
Many different sizes and lengths of fasteners. The way some of the parts are laid out, I don't think it would really work correctly not to use pocket holes.
I wound up spending over $140 just on fasteners, clamps and pocket hole stuff, plus the wood. That's more than I paid for my (used) miter saw.
Now that I have all the wood, hardware and fasteners, I will slightly simplify my build to reduce cost and time.

Outstanding!
I recently purchased Zac's mitre saw & table saw plans & found them to be brilliant in obtaining successful builds.
His detailed plans are very easy to follow, being from Australia I was pleasantly surprised he included metric dimensions saving me the trouble to convert.
I recommend reading through his plans first before diving into the cut plans, he has a couple of great suggestions based on his experience.
1. Given timber & plywood are dimensionally smaller than traditional measurements, you need to be mindful of this.
2. Where he suggests "drying fitting" prior to gluing & screwing do so to ensure perfect dimensional fit.
The only deviation I performed was I used a long Irwin adjustable clamp instead of having another trip to the store go to buy a ratchet strap to obtain a square outcome to both builds.